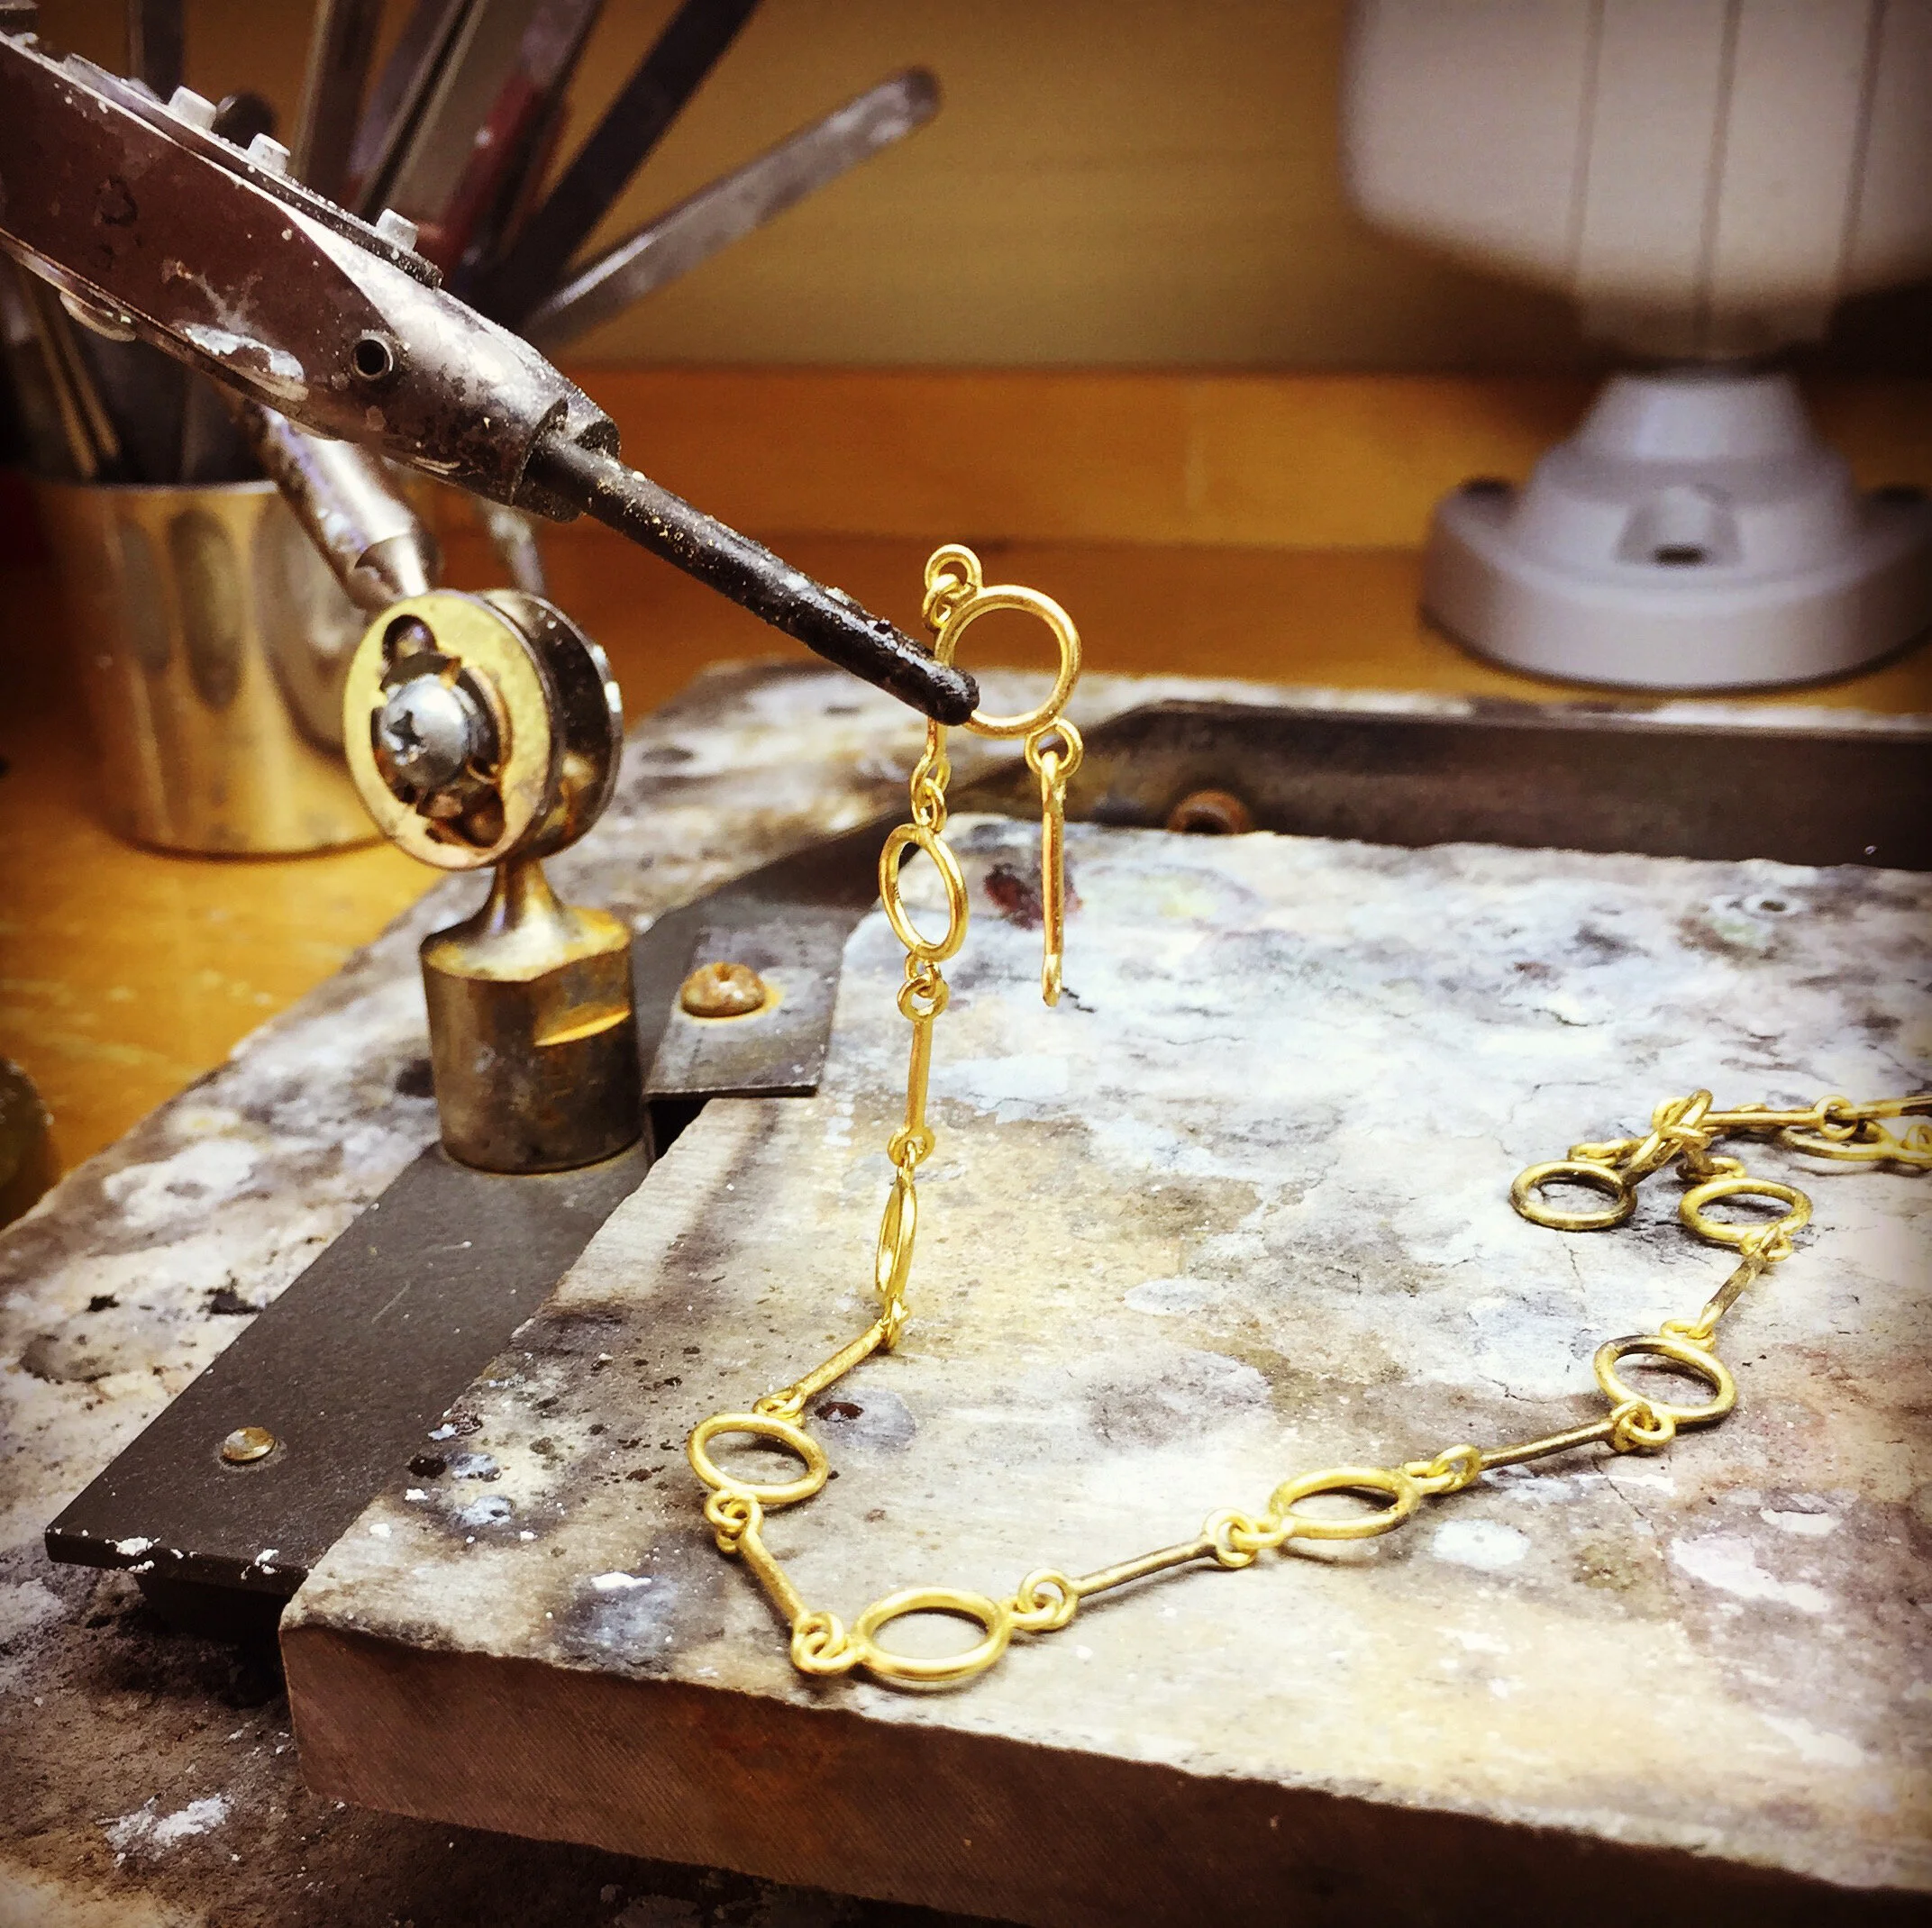
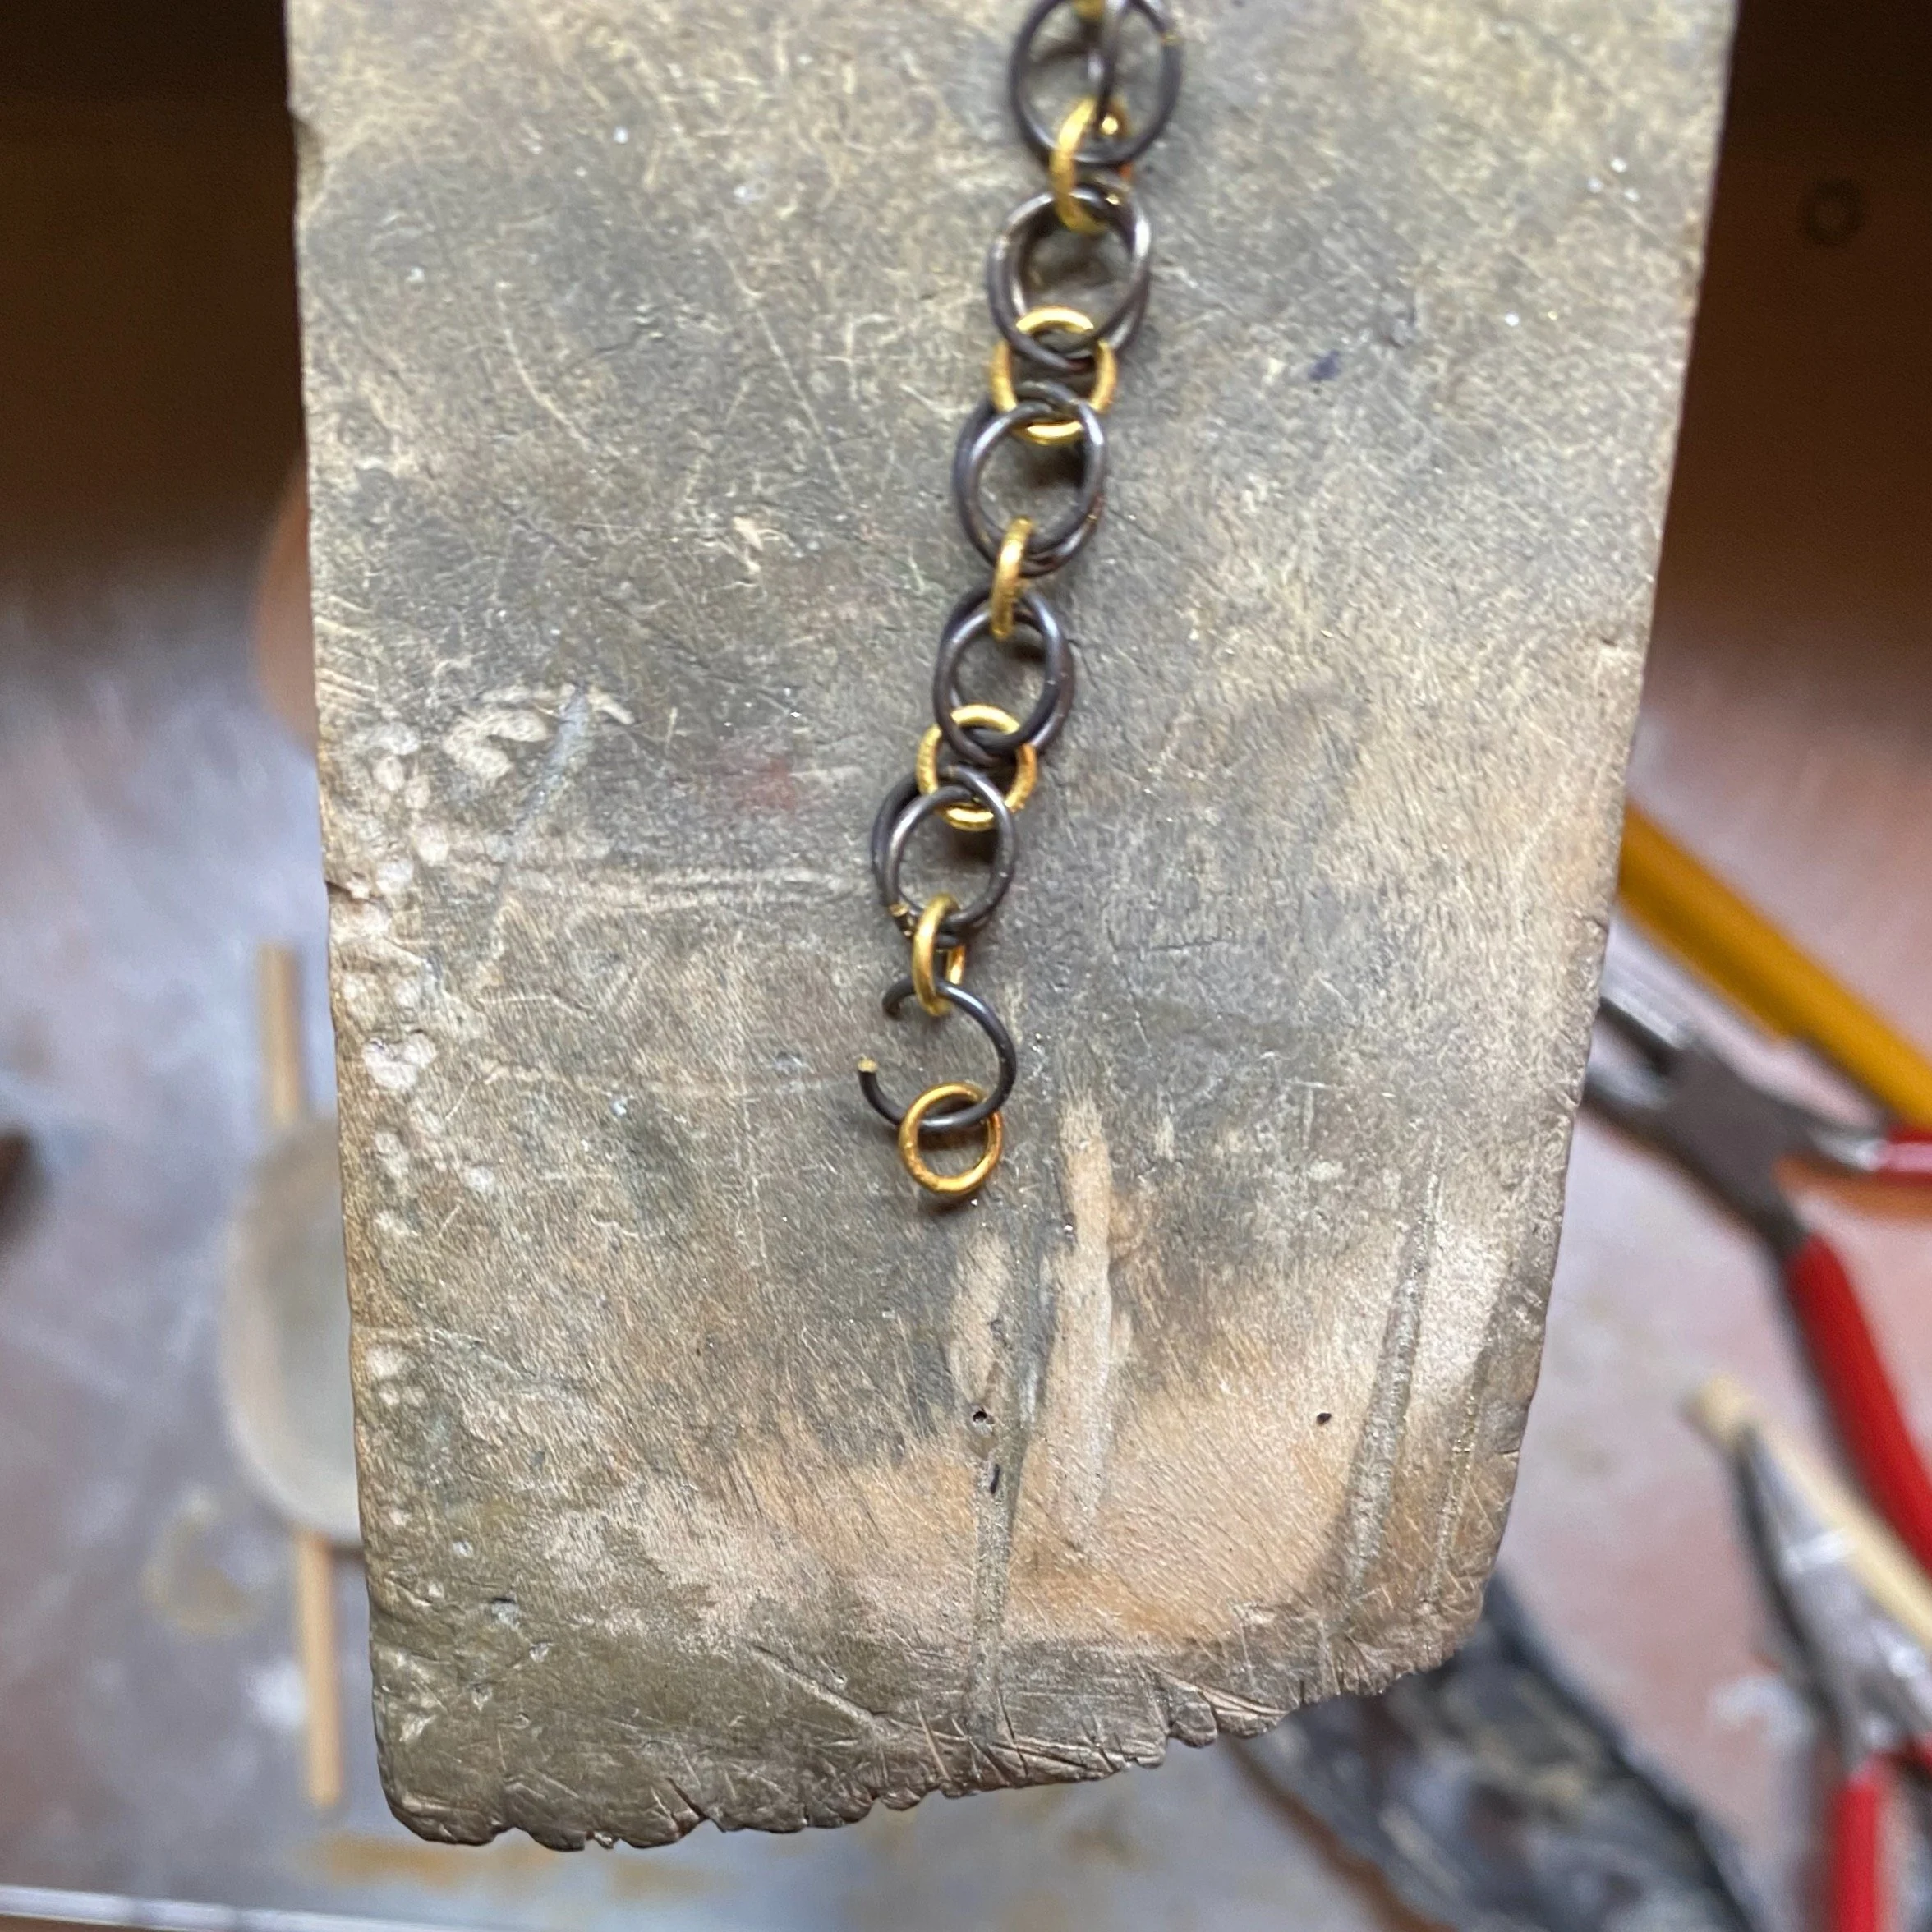
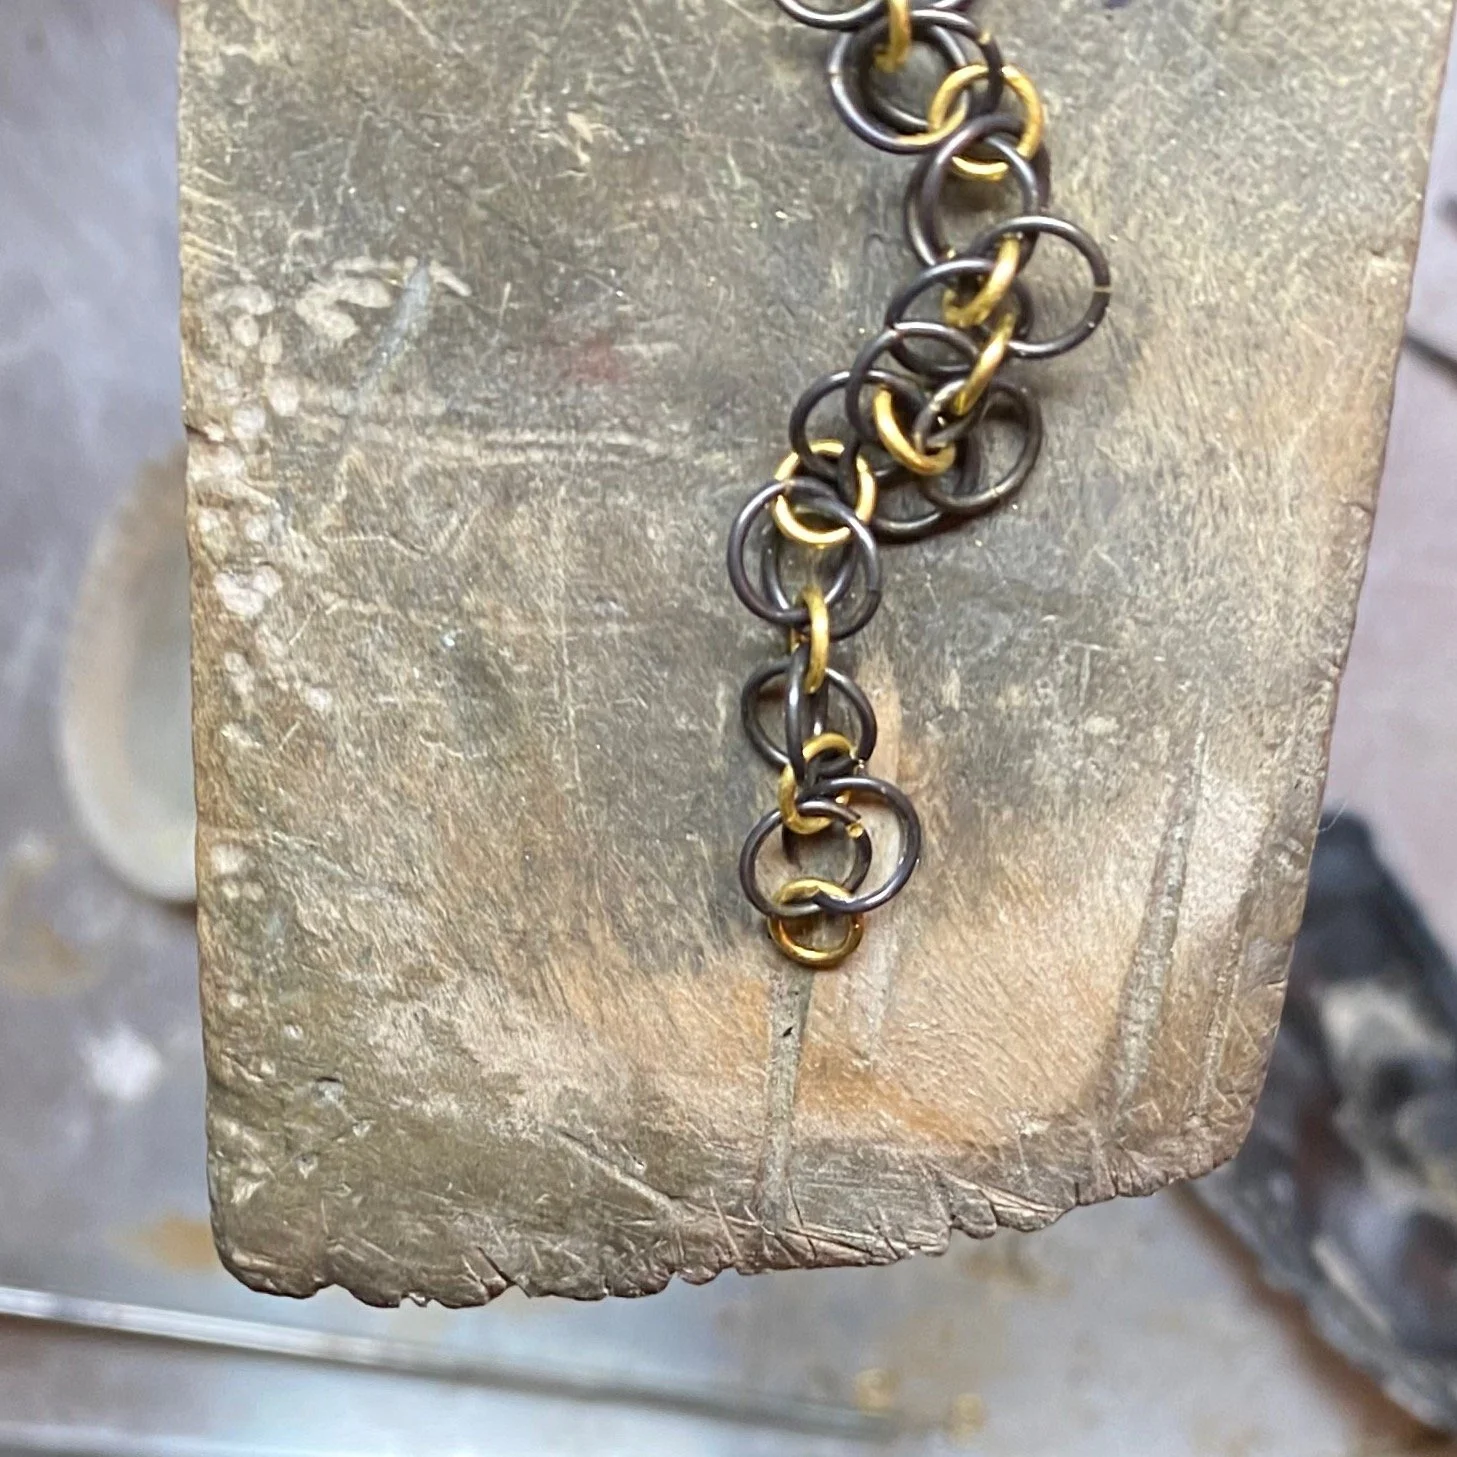
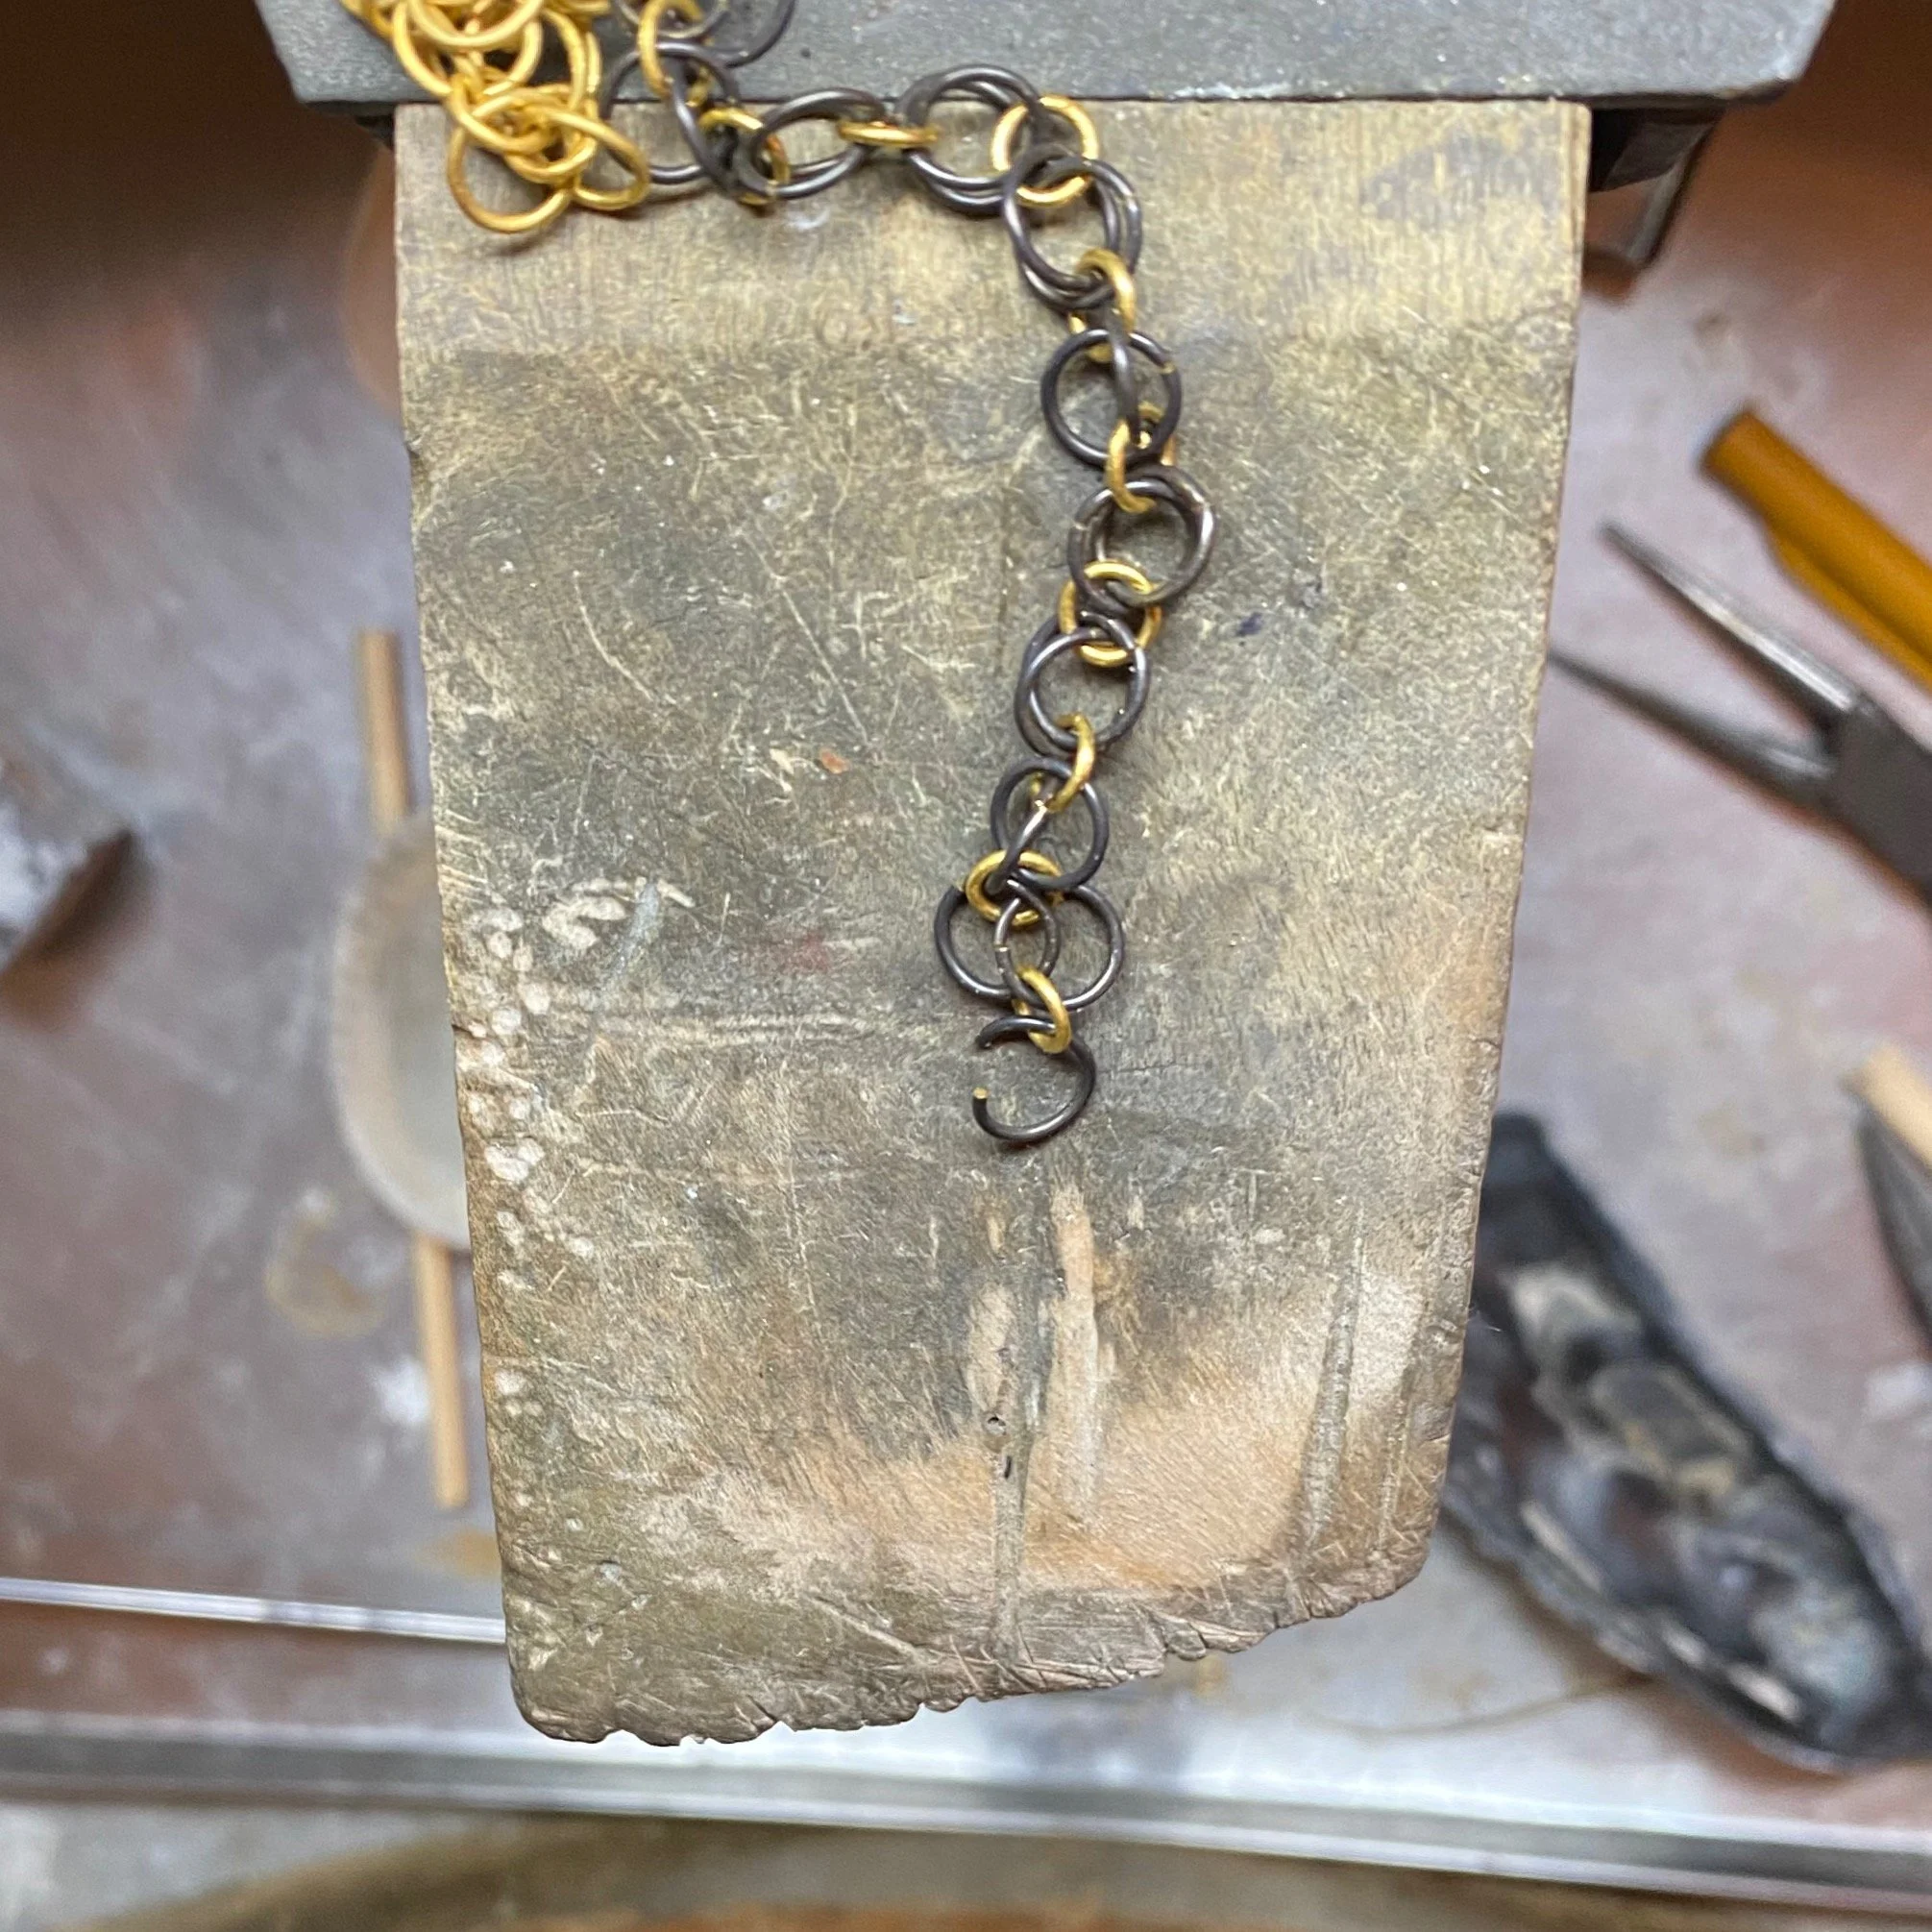
circle and bar chain
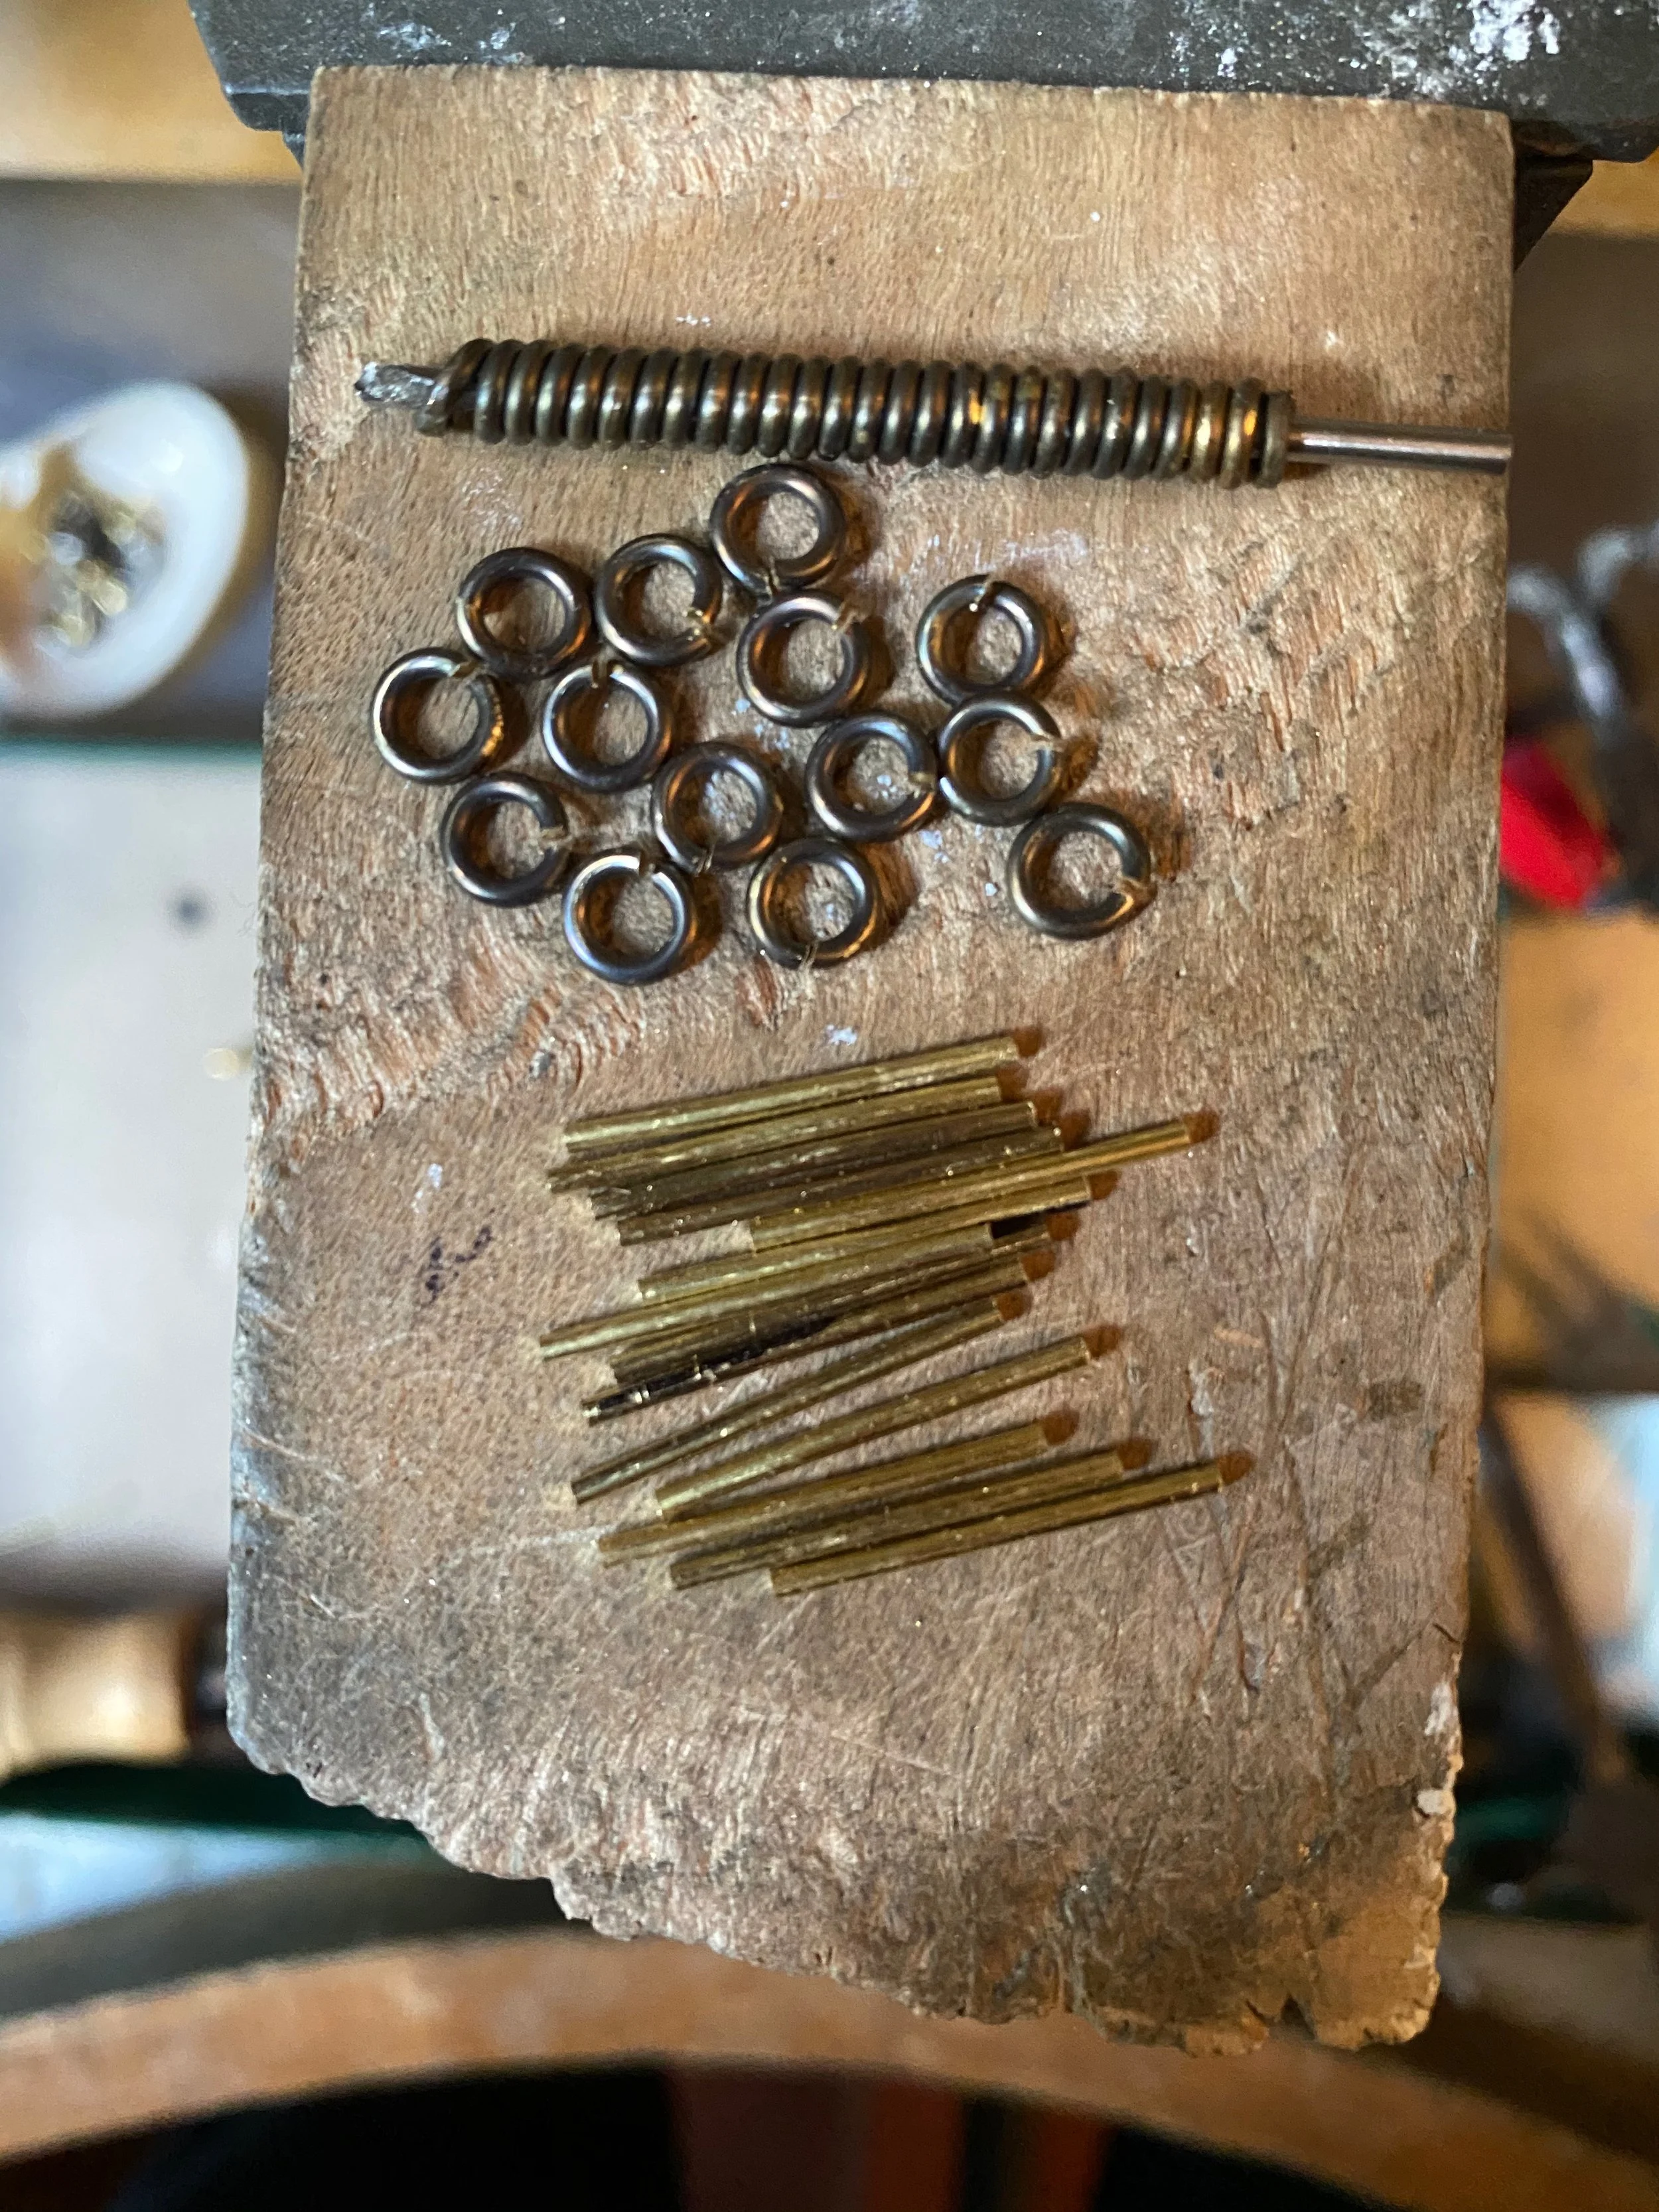
Precisely cut and filed bars and two sizes of jump rings. The smaller jump ring coil has not yet been sawed apart
Large rings precisely closed before fusing
Setting up the jump rings to be soldered to the decorative ring. The two hemispheres of the decorative ring is lightly scribed. The small jump rings are first filed in a curve so they fit against the ring, at the scribed mark, for maximum surface area
Soldering the links together
weaving sequence of the meridian chain
The inspiration for this chain, found at a North Carolina marina
Step one: open the larger ring. Note the oxidized copper on the alloy’s surface before being “pickled” or soaked in a warm acid bath.
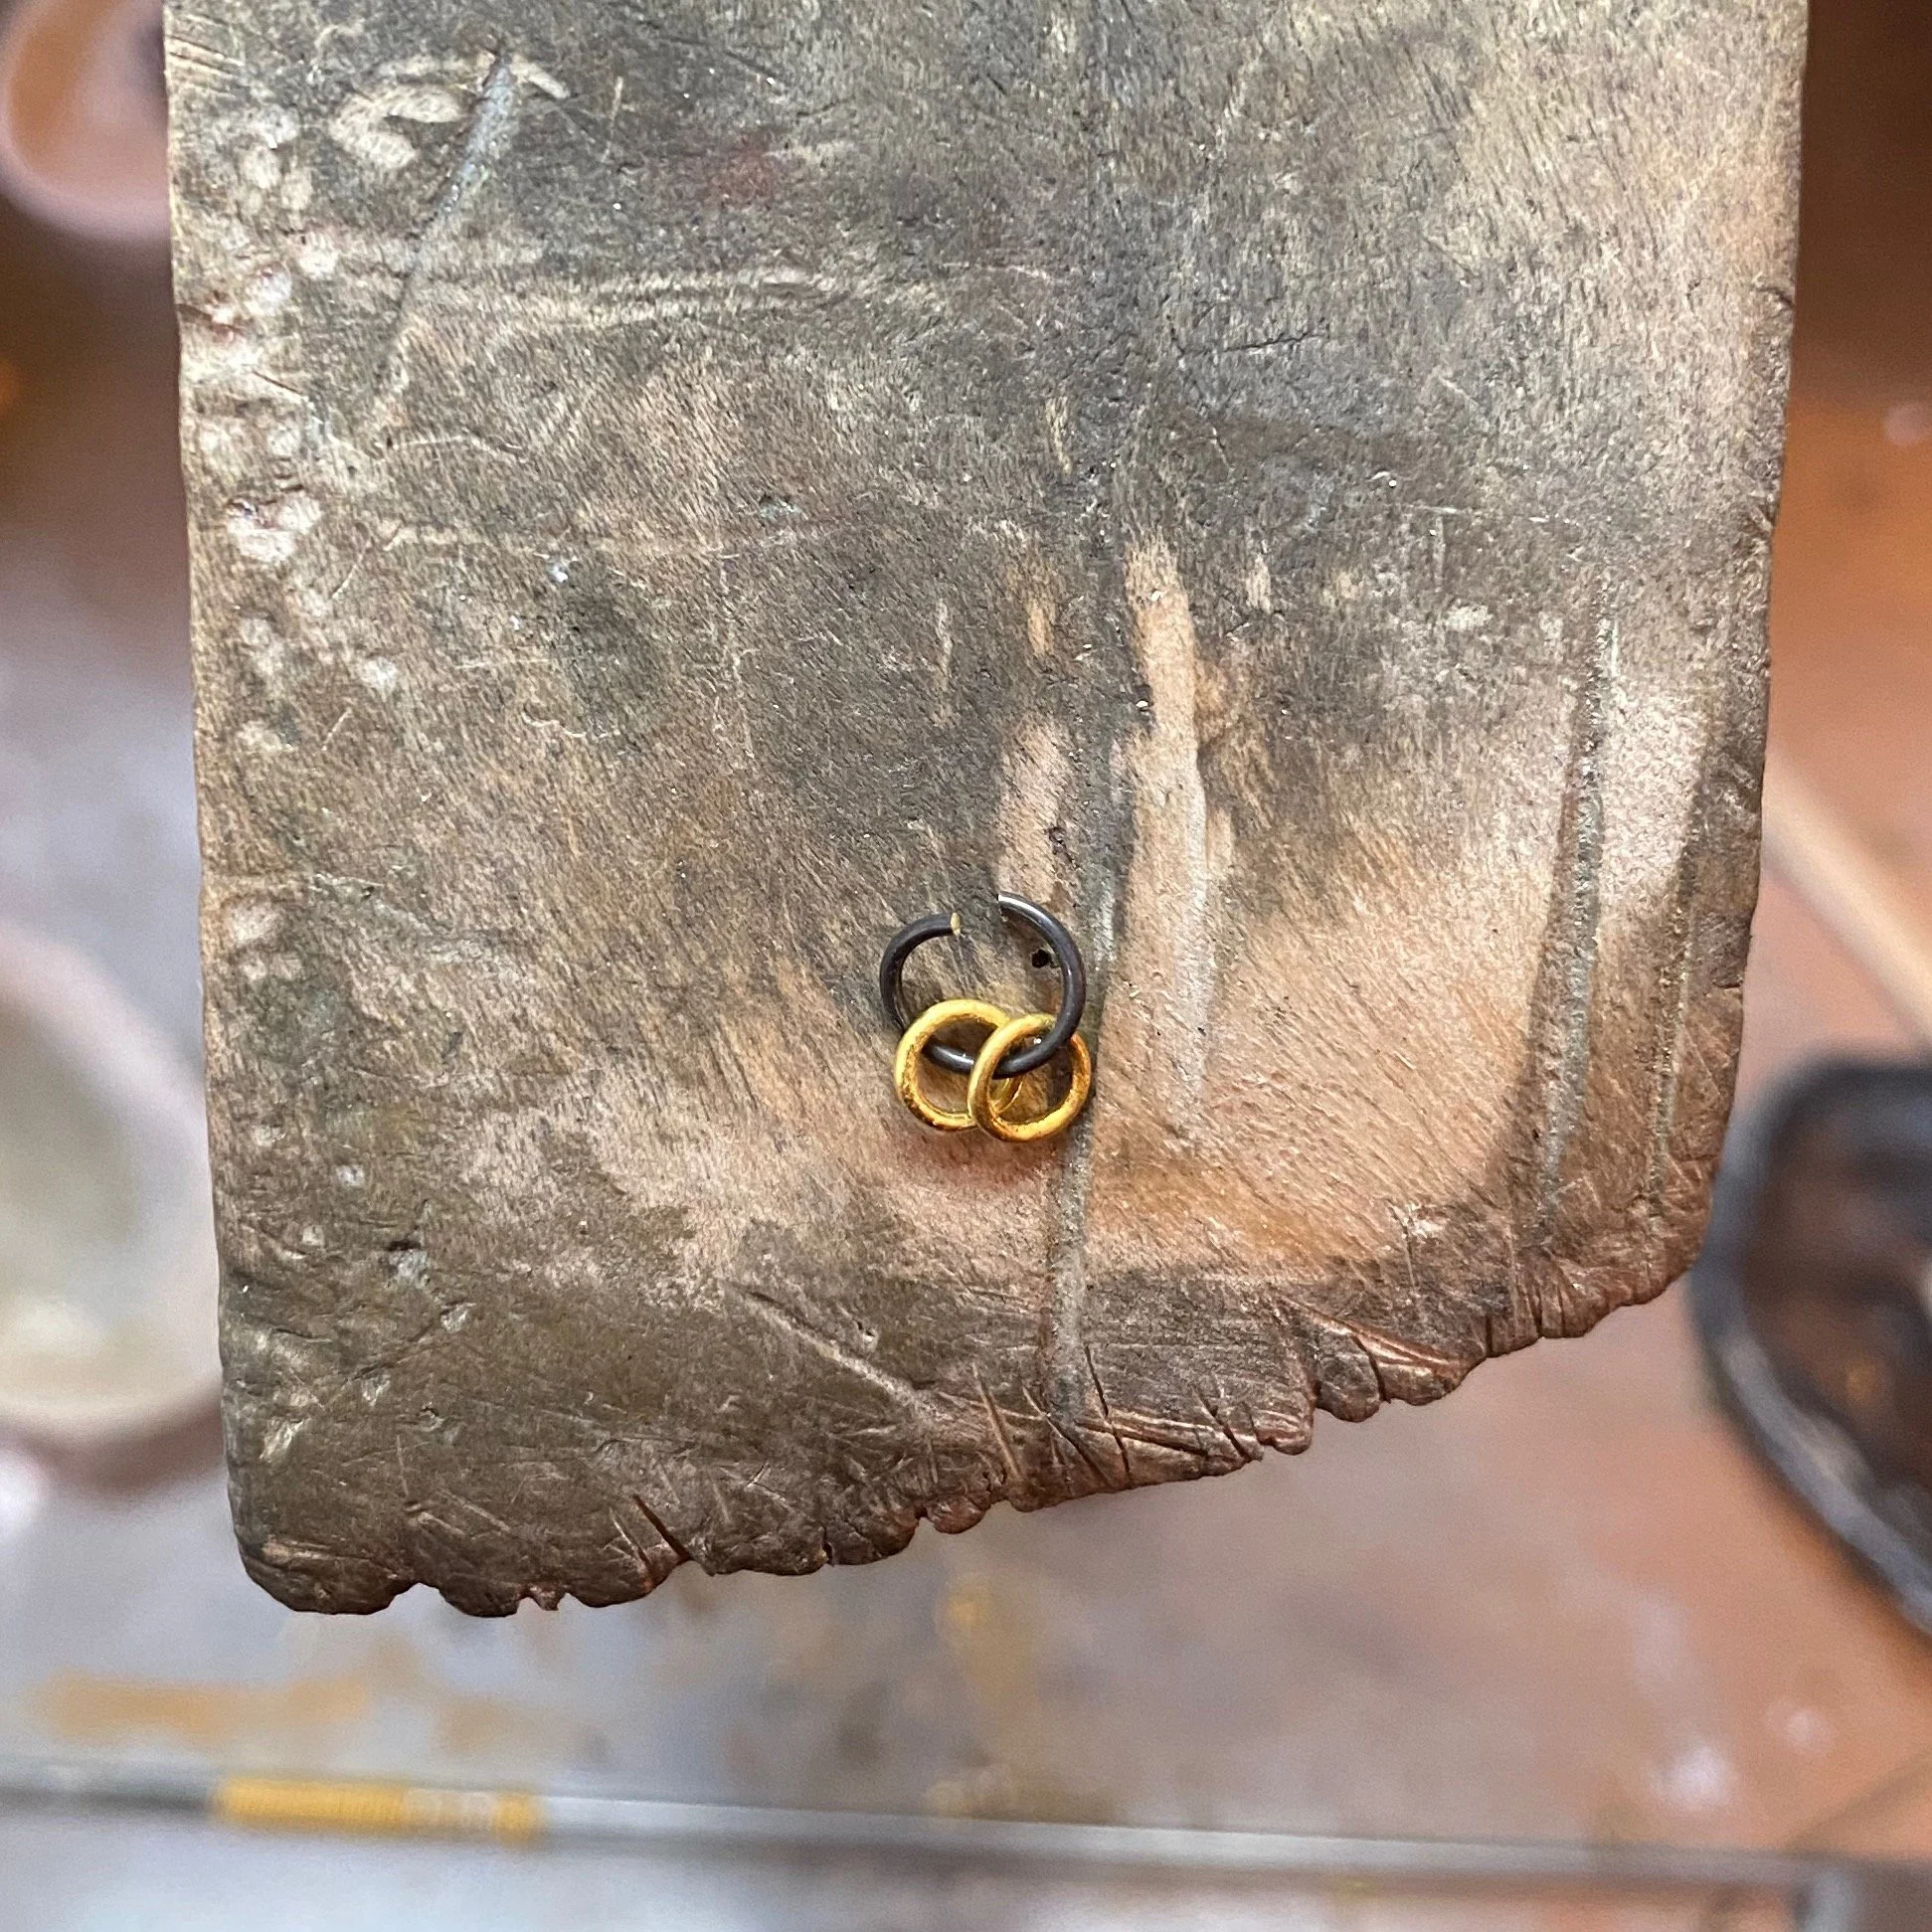
Step two: thread on two smaller fused rings (pickled after fusing so now bright gold)
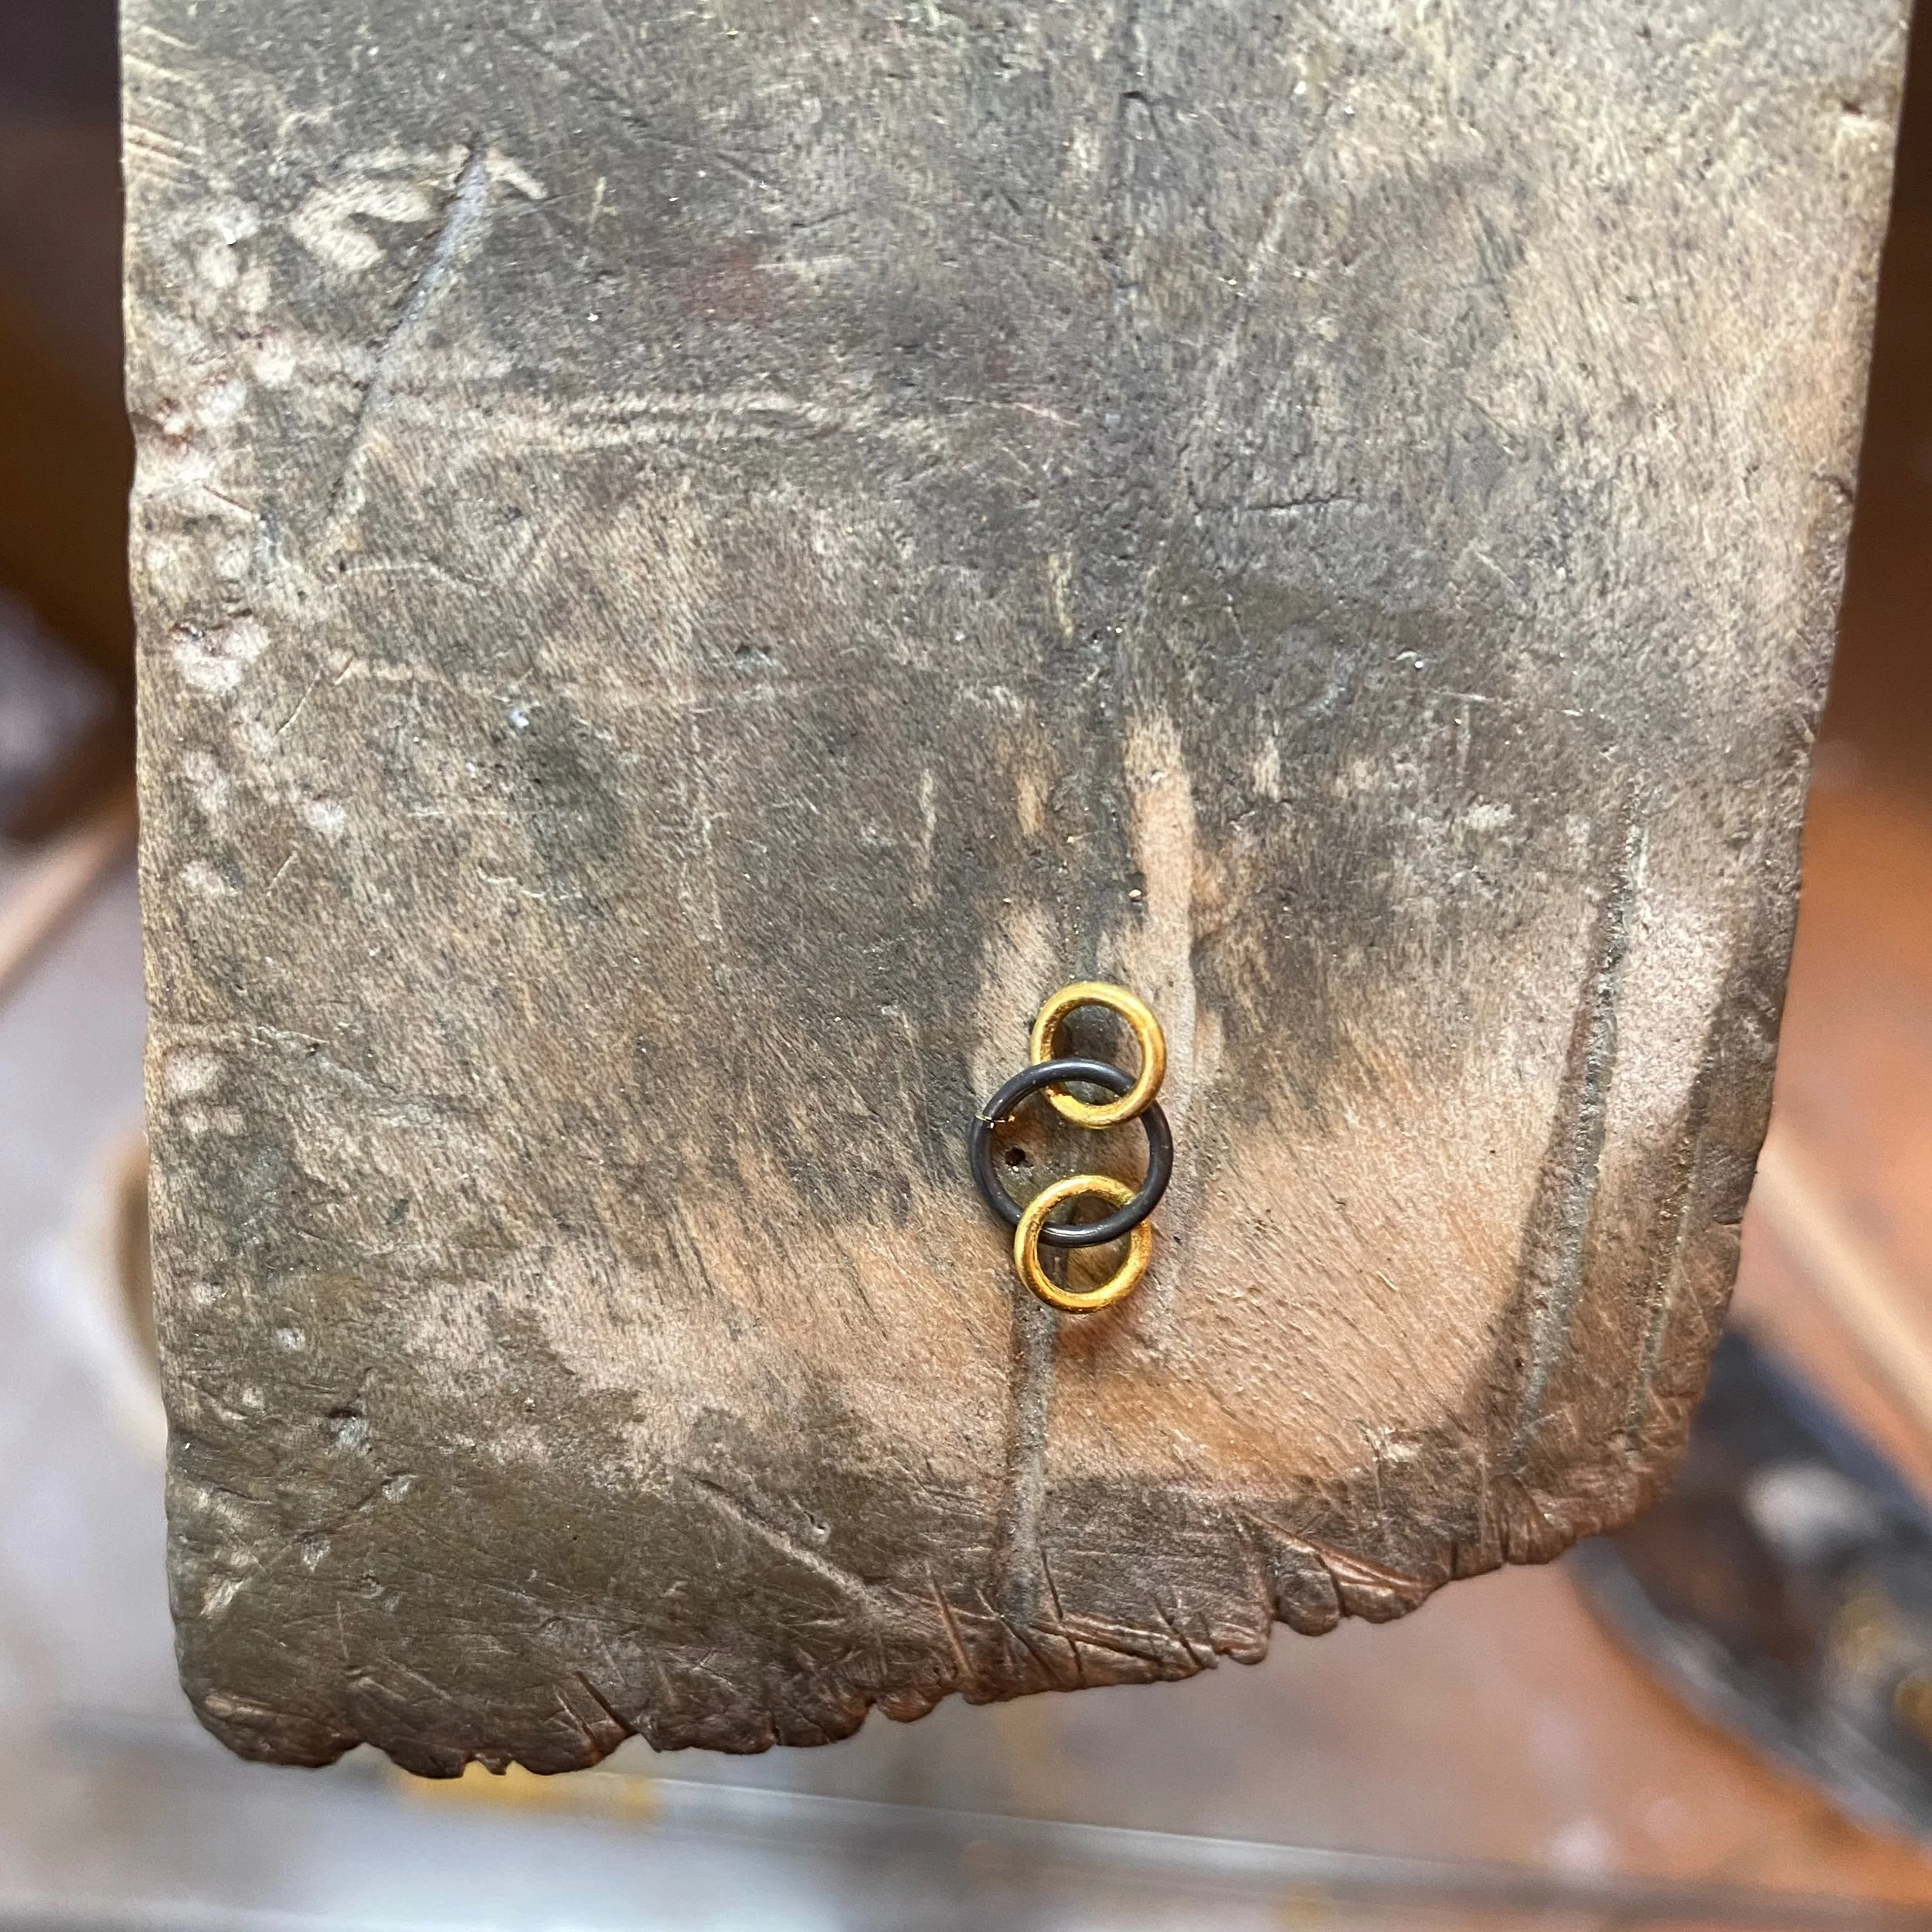
Step three: position one small ring on top, flipped right, and one small ring at the bottom, flipped left
Clearer view of step three
Step four: close the large ring
The next two steps are tricky and are basically done in one move. Step five: insert a second large ring through the top smaller jump ring, over the first large ring
Step six: thread the bottom of the large jump ring between the small bottom ring and the first large ring
Step seven: close the large jump ring. Note that the small jump rings alternate leaning right and left
Back to step one: insert a large open ring in the last small fused ring. After 10 repeats, fuse the larger rings, then continue to weave the chain.
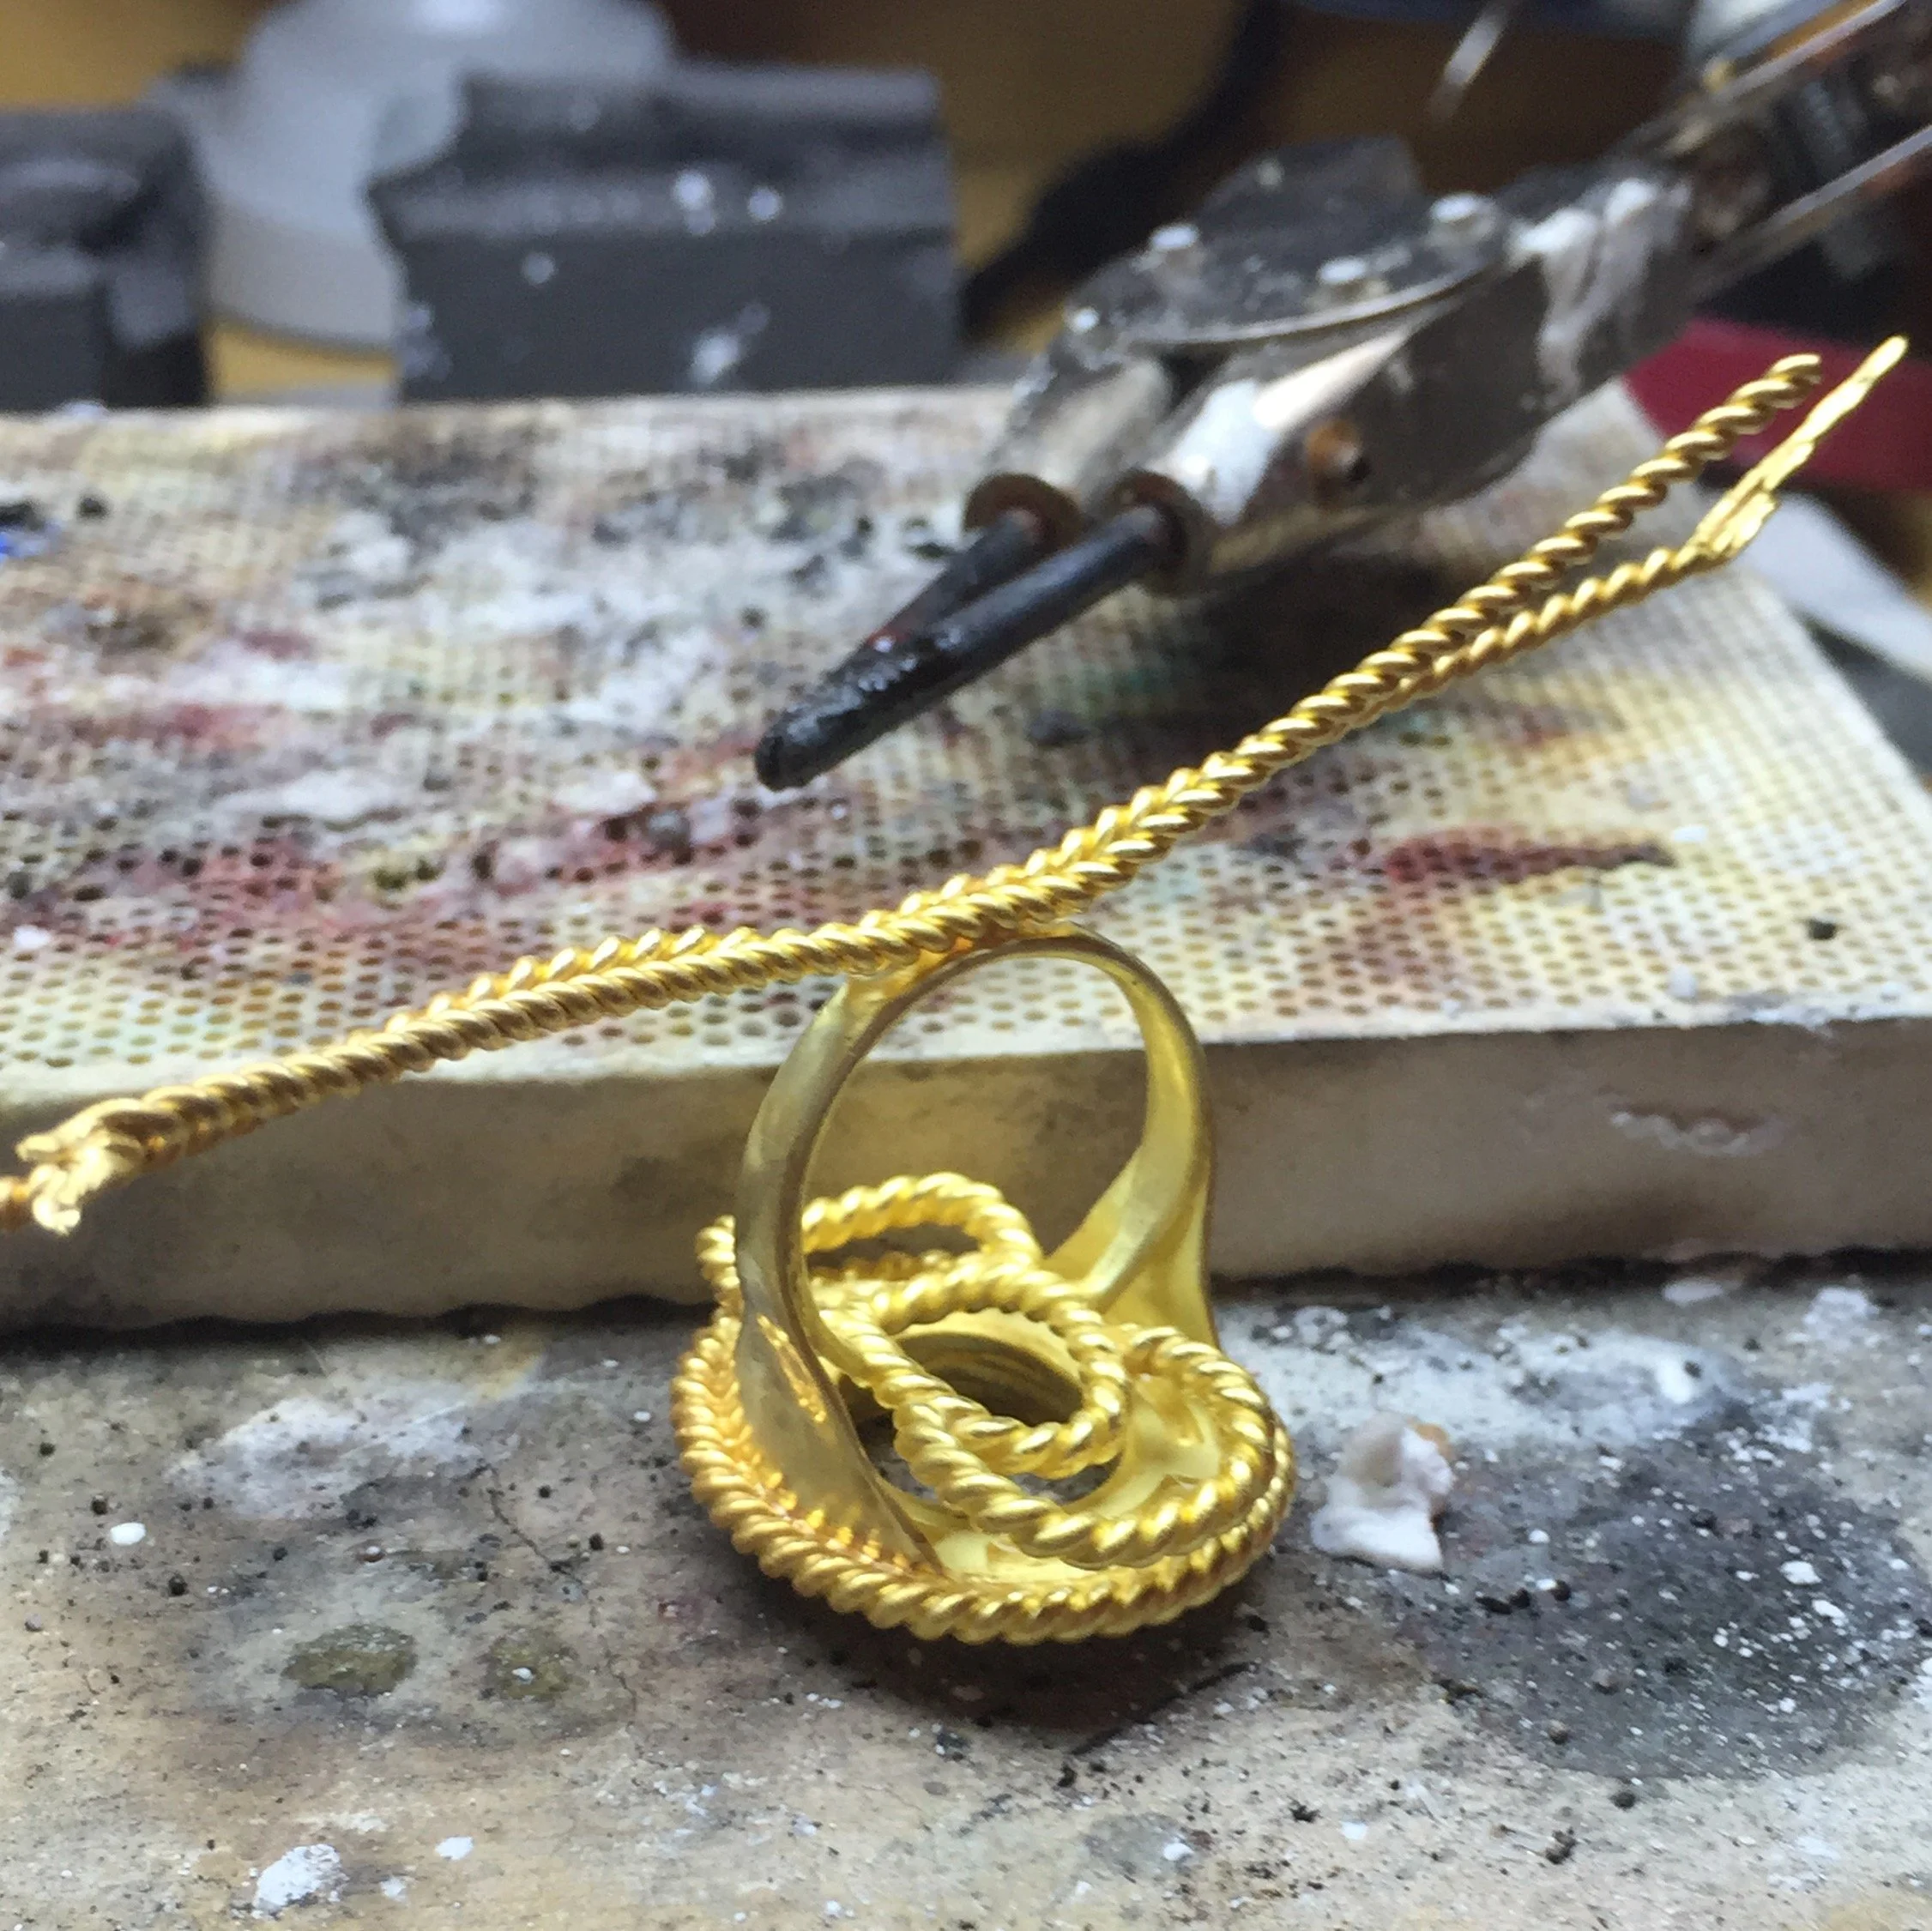
garnet ring fabrication snapshots
Fabrication started with creating an exactly fitting bezel for the garnet. The bezel is then fused onto a thin gold plate, creating a platform for the surrounding granulation. The twisted wire border will be soldered to the ring body later in the fabrication to finish the mounting.
Soldering the shank facing onto the undershank and the twisted wire gallery. The gold is heavily oxidized at this point.
A cutout frame to support the mounting
Setup for soldering the mounting to the shank’s cutout frame
The heavy twisted wire border has been soldered onto the bezel frame at the bottom of the mounting, hiding the edges. The twisted wires that will outline the shank are tacked to the top of the shank before soldering them in place
alloying gold
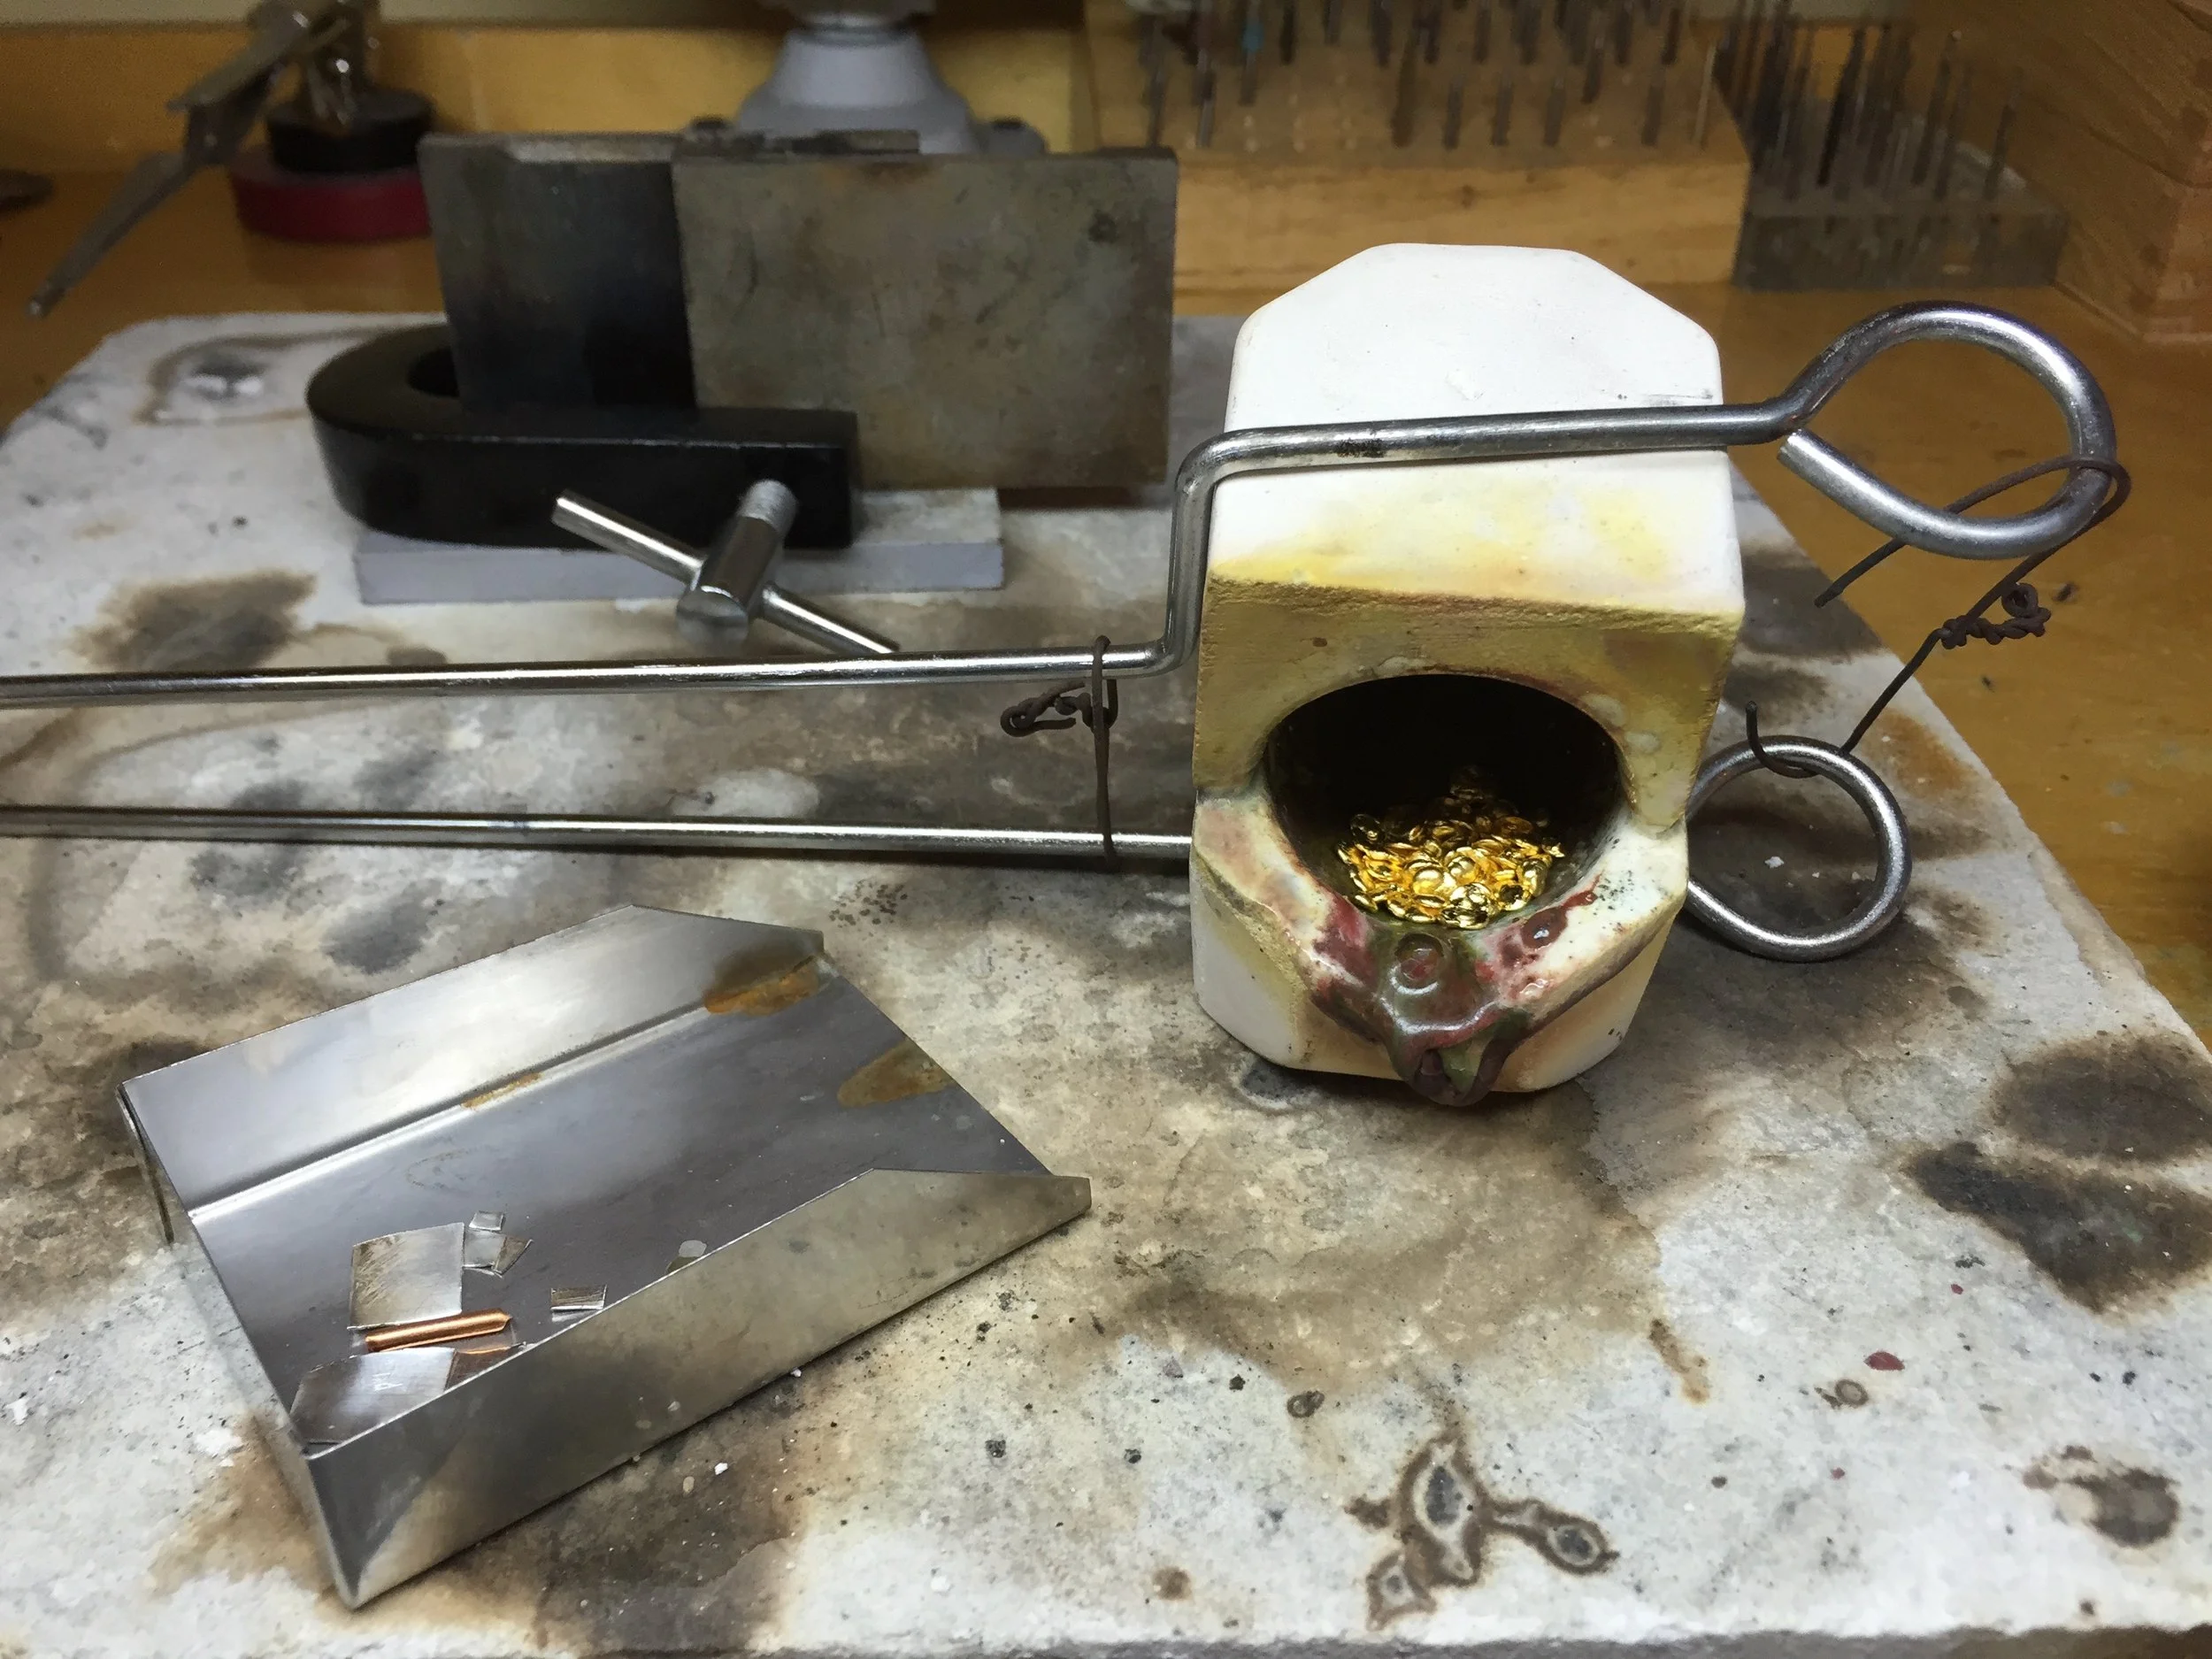
Fine gold in the crucible gets melted first—highest temperature. Then the copper and fine silver in the shovel are added to form the alloy
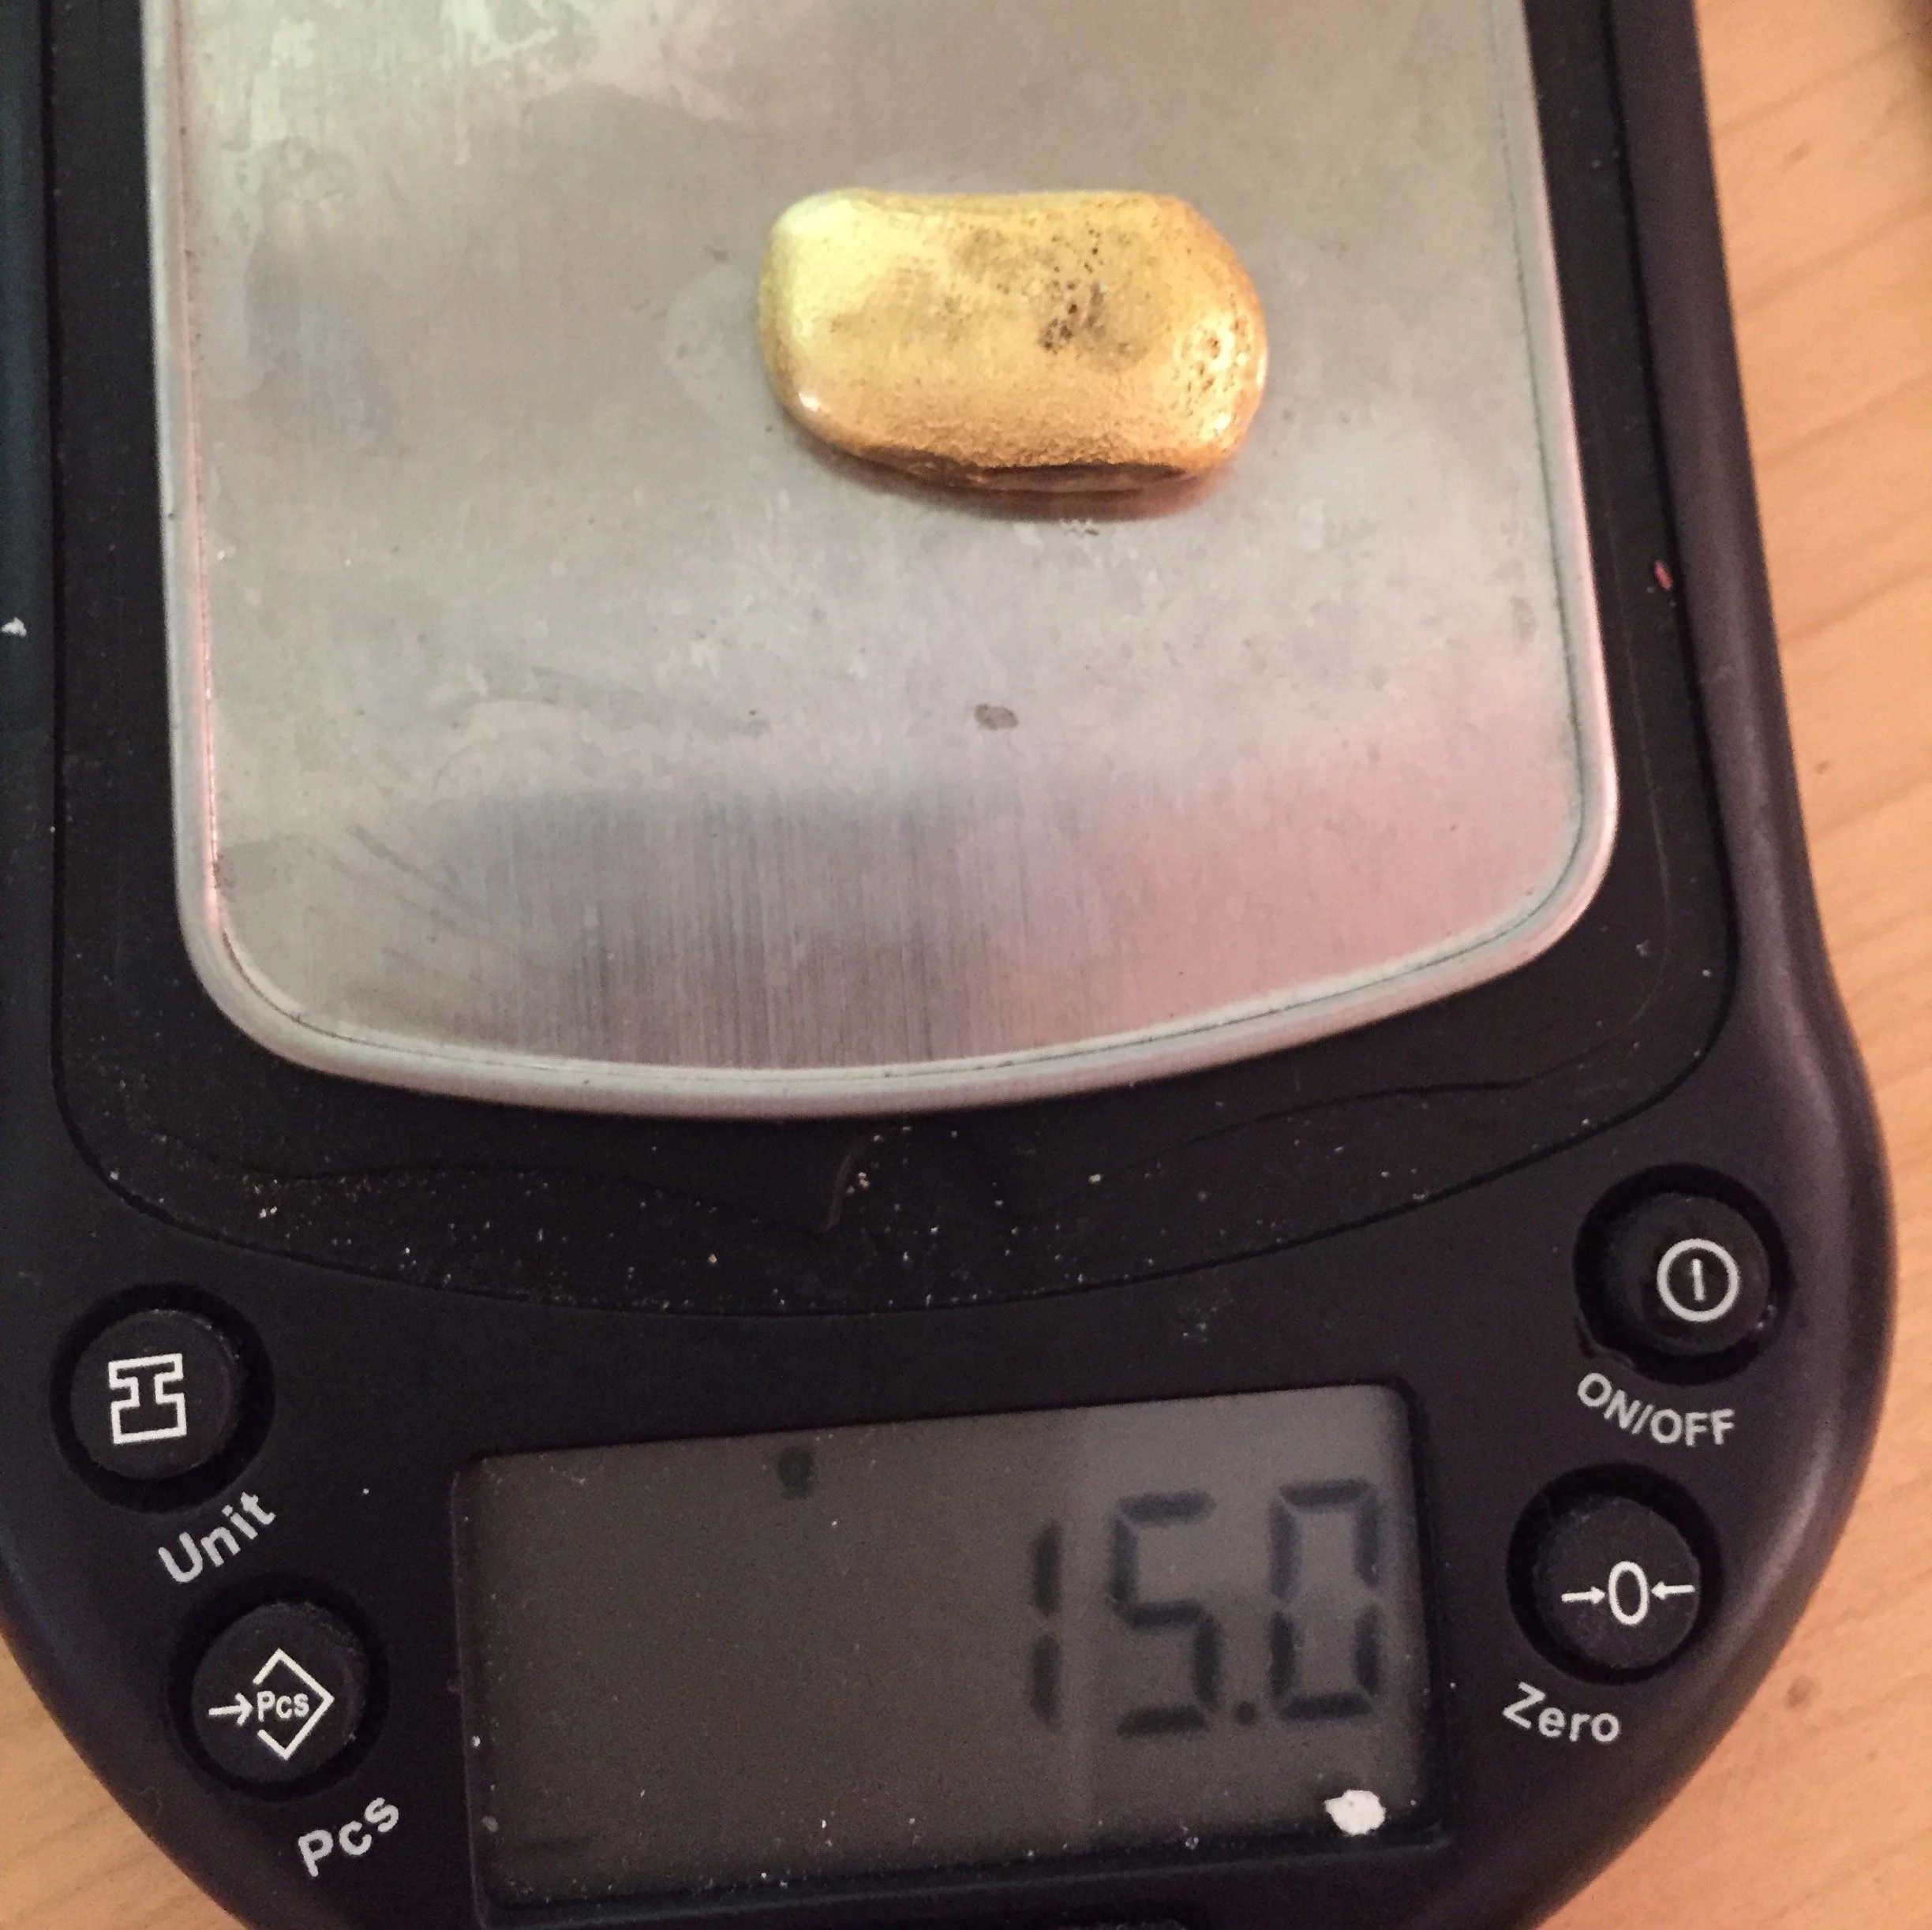
Calculations for the finished ingot were spot on

